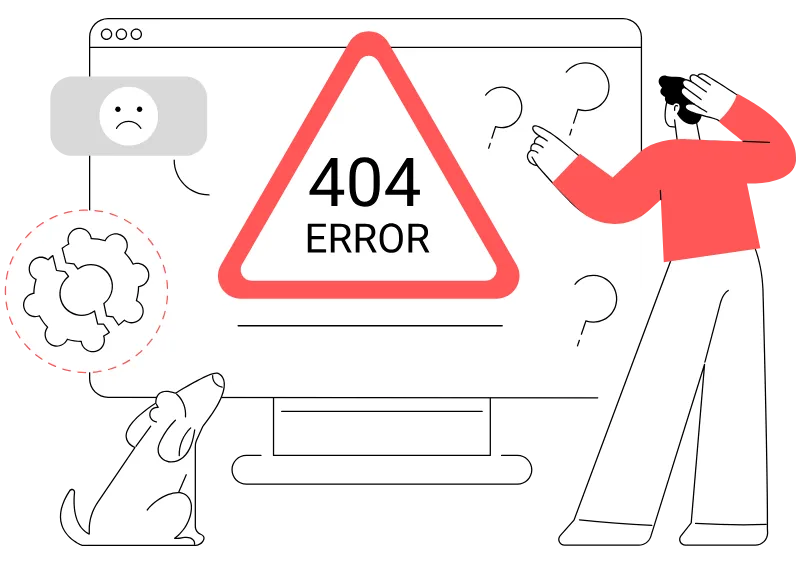
There’s been several very good articles written that show how to position a logo in the center of the main navigation menu, such as this one by Sridhar Katakam.
These various methods work great, but I wanted to show you another option that I use that uses CSS only. Some advantages to doing this using only CSS:
- No need to use additional PHP code
- No need to enqueue additional scripts
- No need to create a custom menu or use two menus (one for left and one for right)
- No need to use any plugins
- Uses basic CSS practices so works with all modern browsers
- Easy Responsive styling
We’re using the Primary Navigation, and this method works best with an even number of menu items. Also, we’re not using the header widget, so let’s start by removing that. Some themes may not have it.
Remove The Genesis Header Right Widget Area
To check if your theme supports a header widget, in your WordPress admin panel go to “Appearance > Widgets” and look for your header widget area. In most Genesis themes this is called “Header Right”.
If it’s not there, you can skip this step. If it is there, let’s remove it by adding this to your theme’s functions.php file:
<?php | |
//* Do NOT include the opening php tag | |
//* Remove the header right widget area | |
unregister_sidebar( 'header-right' ); |
Add CSS Class To Menu Item
Next, we’ll add a css class to the first menu item to the right of the logo. To do that, visit your WordPress admin panel and go to “Appearance > Menus”. Expand the first menu item to the right of the Logo and add a class of “split-right” inside the field that says “CSS Classes (optional)“.
If you don’t see this field, click on the link on the upper right part of your screen that says “Screen Options”, and check the “CSS Classes” checkbox.
Center Logo On Genesis Navigation Menu Using CSS
Our demo is using the Genesis Sample theme. We’ve used the following CSS. Add this CSS (or make changes to your existing CSS) to your theme’s style.css file:
Final Centered Logo Navigation Menu Adjustments
With the code added, we have a few adjustments to make to get our Logo and Navigation Menu centered correctly.
Change Your Logo Path and Dimensions
We’ve uploaded our logo image to our theme’s “images” folder. Change the “.site-title a, .site-title a:hover” image to the correct path for your image, as well as “h1.site-title, .site-title a, .site-title a:hover” to match the size you’d like for your logo.
You’ll also have to adjust “.nav-primary .split-right” left-margin to match the width of your logo.
Manually Adjust CSS To Balance Out The Navigation Menu
Because each menu item is a different width, the intersection between the menu item to the left and right of the Logo are not perfectly centered on your screen. You could adjust for this by making all of your menu names the same length, but that’s not practical for most uses.
To fix this, we’ve added a left margin to the first menu item, using “ul.genesis-nav-menu > li:first-child”. You’ll have to adjust this number until you’re satisfied with the positioning (also in the media query). It’s a manual process, but doesn’t take long to get the right number.
View Center Logo On Genesis Navigation Menu Demo
If you like this tutorial and would like to receive tutorials and more free tips by email, enter your name and email below:
[gravityform id=”1″ name=”Newsletter Signup 1 – Row” title=”false” description=”false”]